Morgan Myers | 07/28/23
A few years ago, I stumbled across the silver filigree brooches found in Chamber Grave V, in the Viking age burial site at Hedeby, and was struck by their exceptionality; the vast majority of contemporaneous brooches being cast bronze. The images I was able to find were low resolution, and upon looking further finding others’ recreations, I felt confident in my ability to make my own iteration. For my first attempt, I alloyed fine silver to sterling, cast into ingots, and rolled out rod stock and sheet. Since the outer measurements I had found online were contradictory, I averaged between a few sources, and scaled the low-resolution images to match the outer dimensions to get approximations of the wires. I drew out wire to these dimensions—however, it kept breaking when I twisted it to match the density in the images, no matter how much annealing was done. I ended up using a looser twist and soldering the wire to the brooch using a variety of commercially available hard and soft solders. The result was dissatisfactory to me, but a huge improvement over the brooches featured in an earlier post.
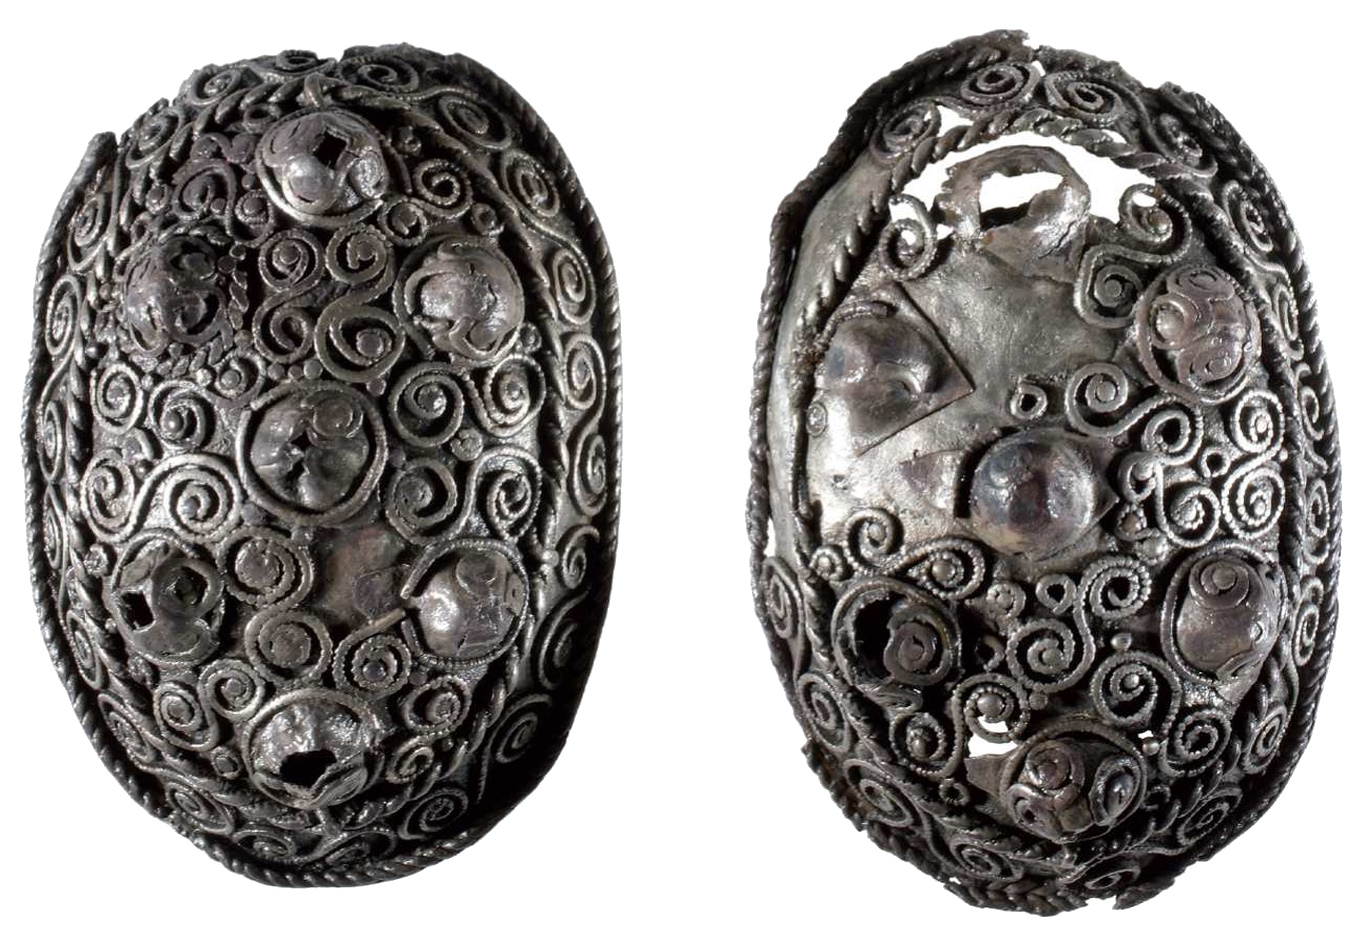
Figure 1. The original brooches (much higher resolution than what I was able to find originally).
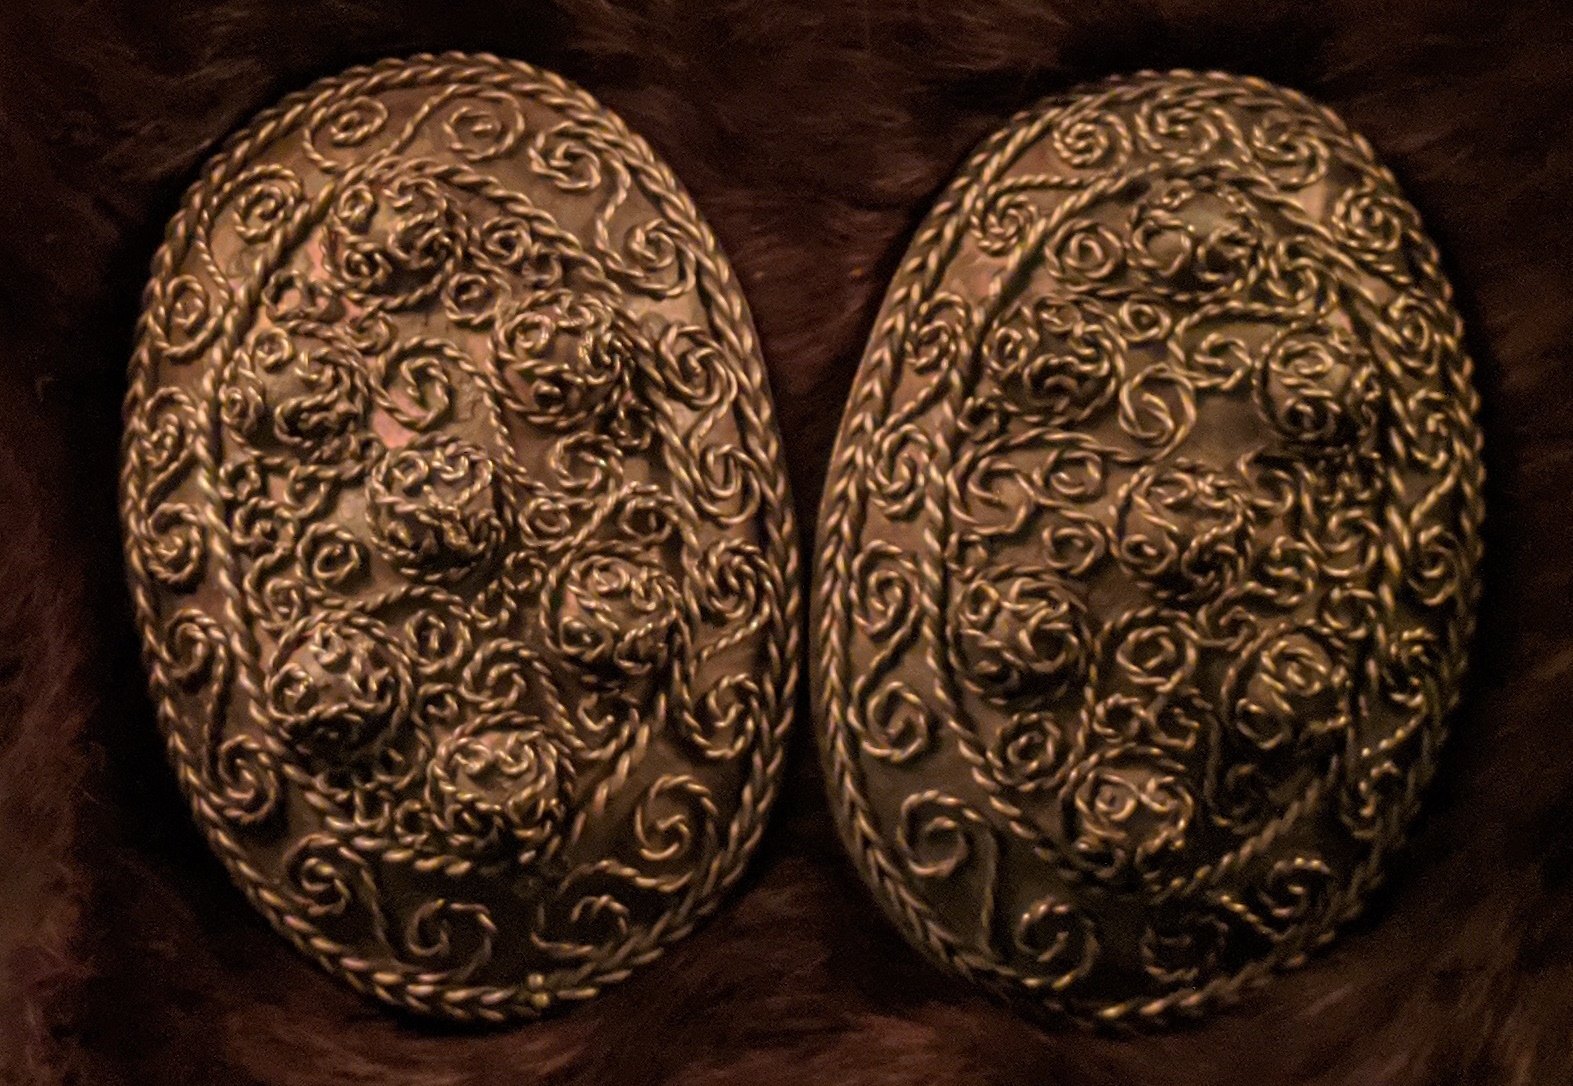
Figure 2. My first attempt at replicating.
I reached out to the National Museum of Denmark but received no response, however fortunately, I came across a publication [ The Viking Age Graves from Hedeby], and realized right away, that the wire was not only twisted in places, but to further increase the textural depth, the wire was also “beaded,” creating the illusion of a very tight twist. I then recognized that a substantial amount of wire across all Viking age gold/silverwork was beaded, which I had misinterpreted as carefully placed granules or twisted wire.
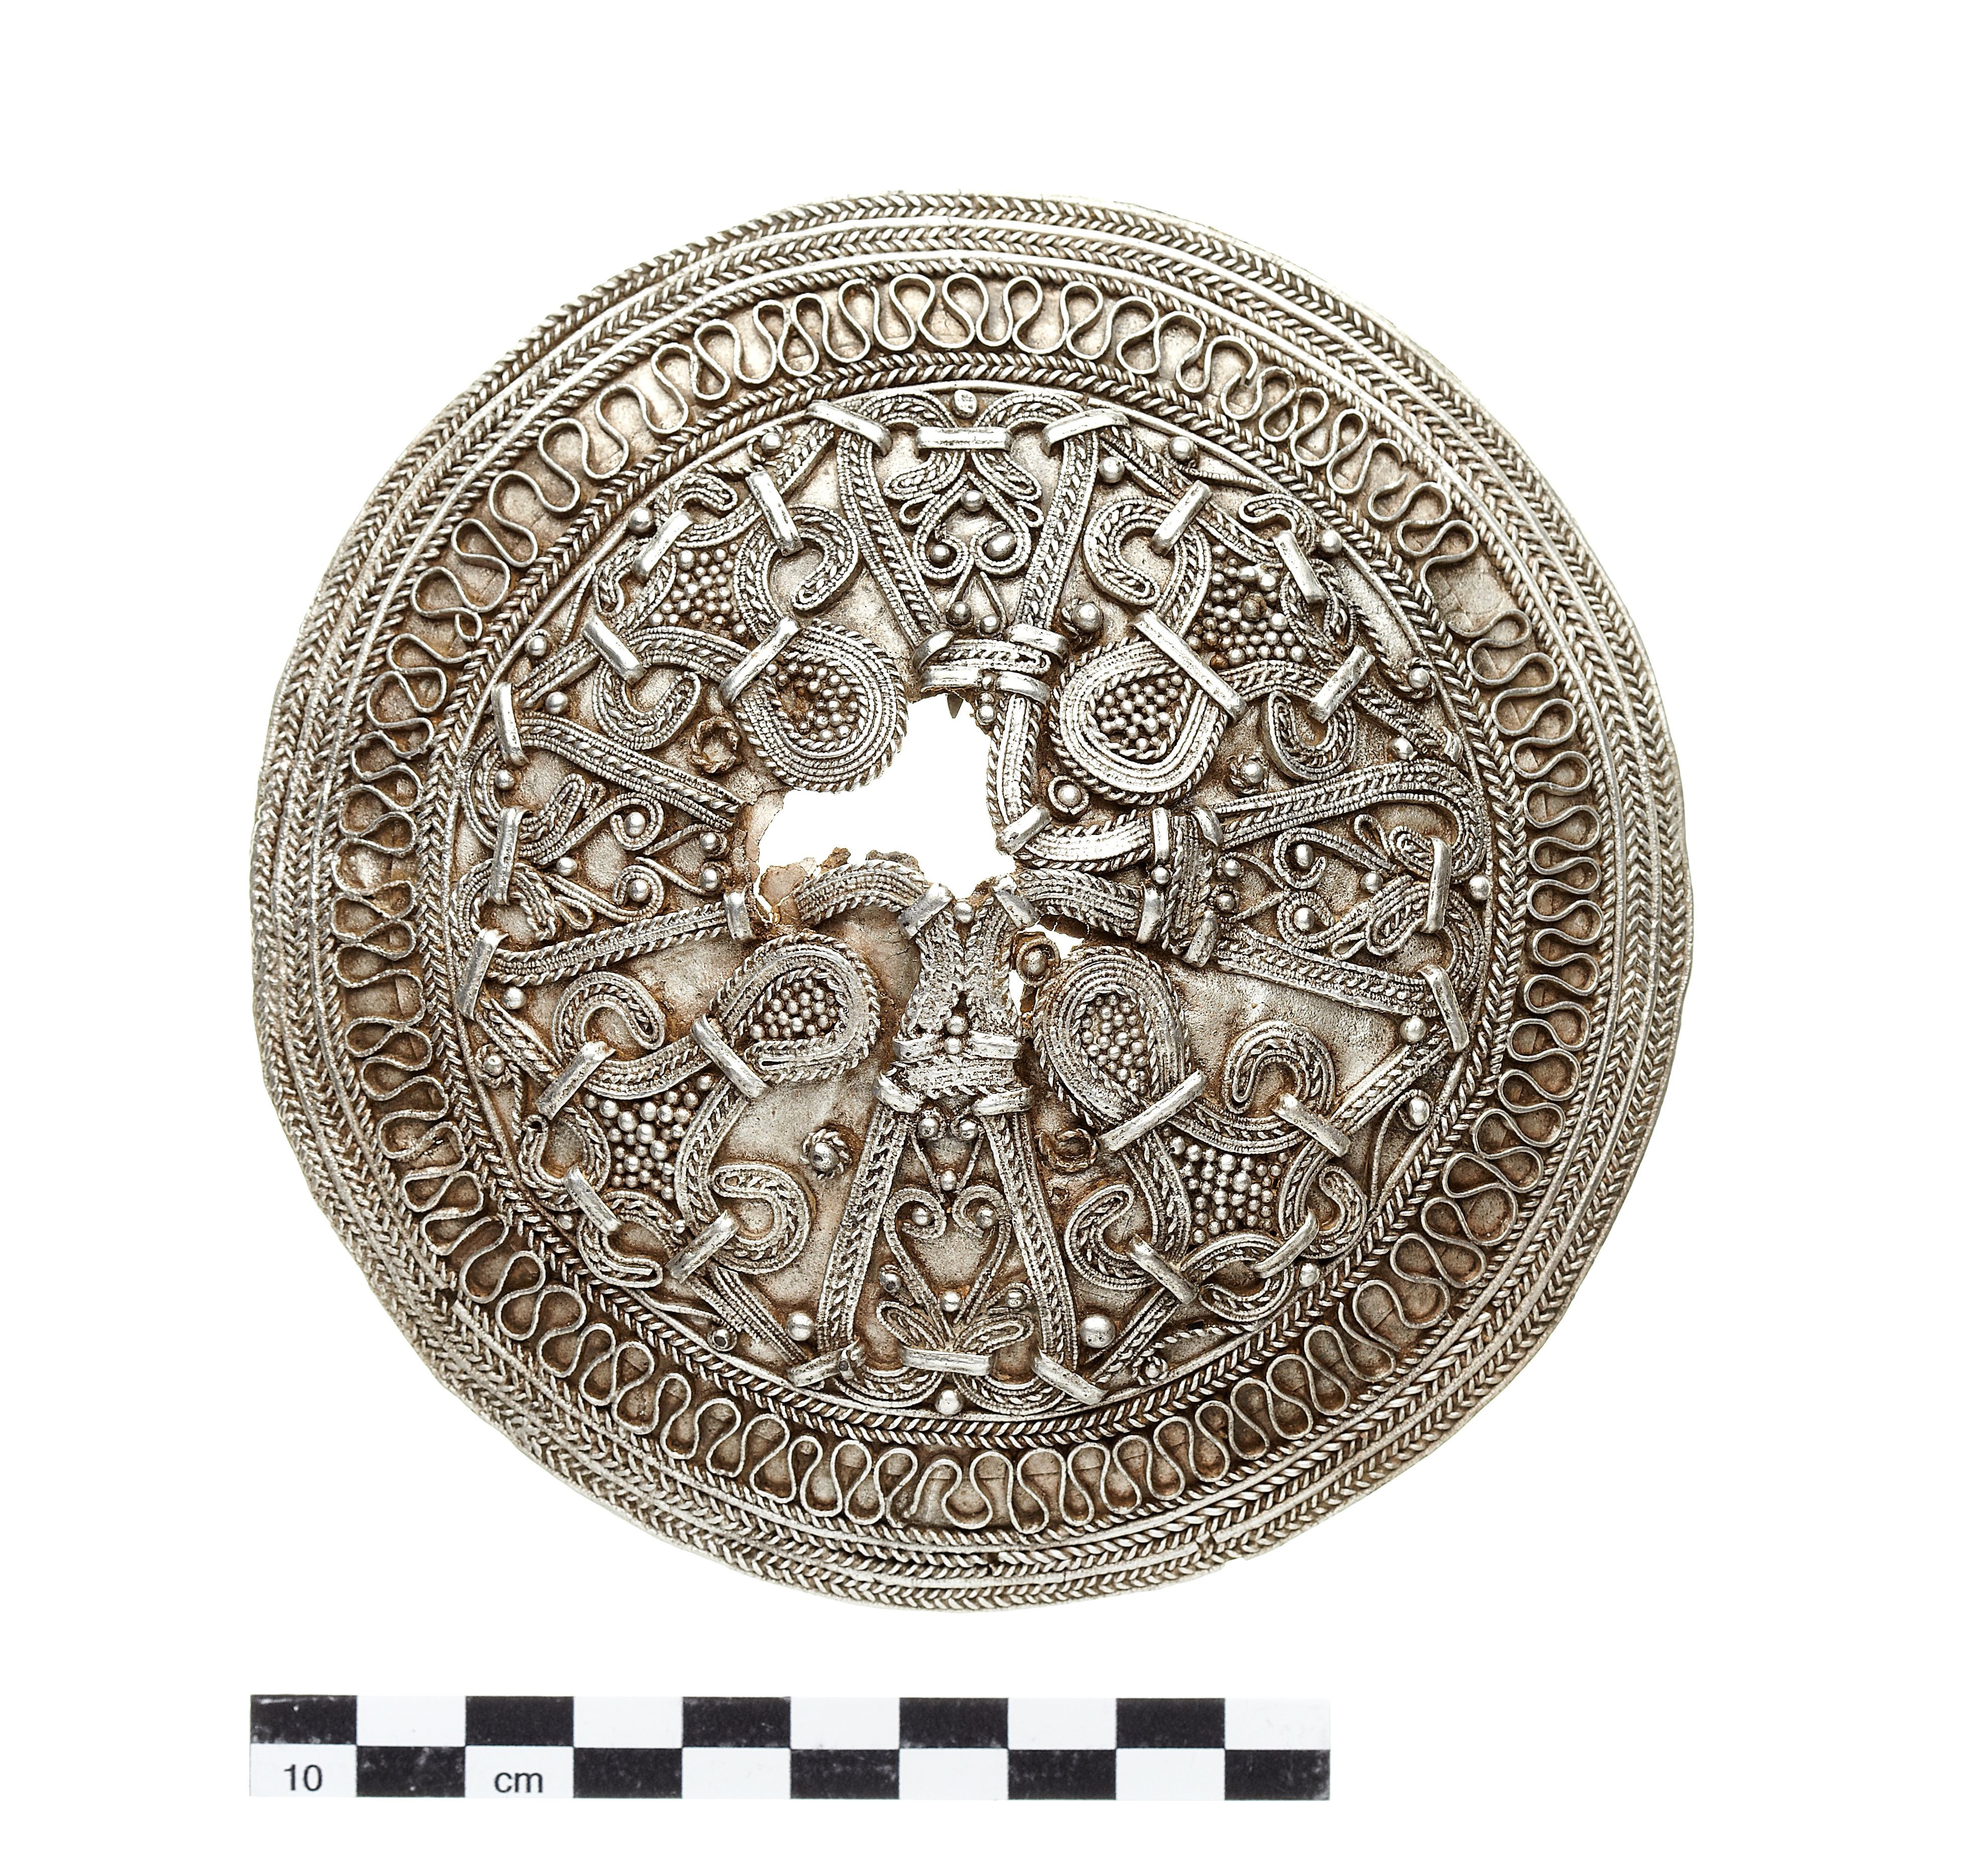
Figure 3.Silver brooch from Østermarie. Comprised of twisted wire filigree.
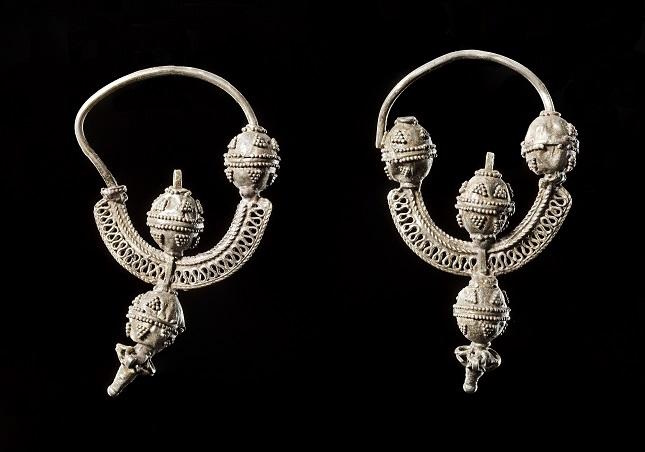
Figure 4. Temple rings with twisted wire and lines of granulation.
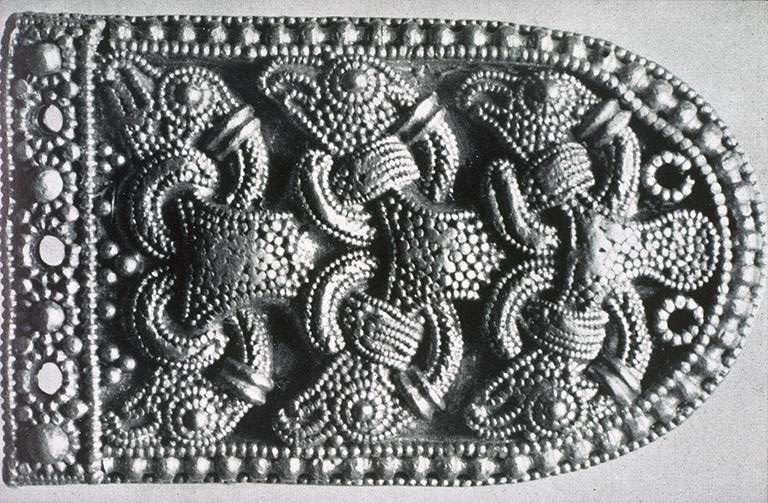
Figure 5. Gilded belt/strap mount from Norway, with large and small beaded wire.
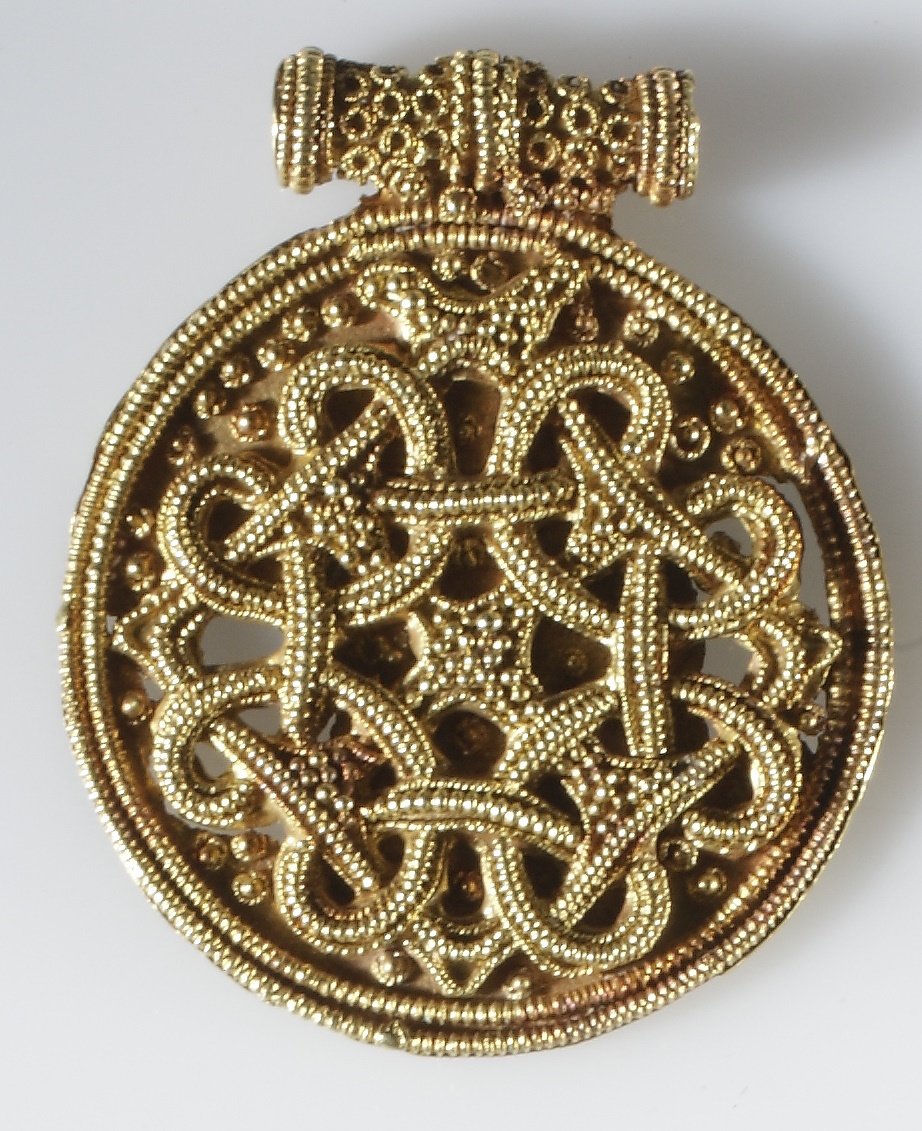
Figure 6. One of a pair of gold pendants from the same grave as the titular brooches, with beaded wire.
This led me down several paths, trying to find commercially available beaded wire, tooling to produce beaded wire, or even how it was produced historically. The information is sparse. I was unable to find commercially available wire remotely near the dimensions required (the smallest diameter available from Rio Grande is 0.94mm) and, as far as I have found, the tooling is not available either. Via Cariadoc’s Miscellany,Theophilus describes how beaded wire was constructed:
"[...]there is also an iron implement called the organiarium which consists of two pieces of iron, a lower and an upper one. The lower one has the width and length of the middle finger and is slightly thin, with two spikes which fit into a piece of wood below it. Ion the upper side above these spires there project two thick pins which hold the upper piece. The latter is the same width and length as the lower one and has two holes, one at each end, through which the upper parts of the two pins should pass so that the two pieces will fit together. They must be fitted exactly to each other with a file, and small groves should be cut out in both pieces in such a way that holes appear right through the middle. Then a long of gold or silver, hammer evenly round, is pushed into the larger hole and the upper part of the tool is struck hard with a horn hammer while the piece of silver or gold is turned with the other hand. Round beads like beans will then be made; in the second hole they become like peas; in the third, like lentils; and so on smaller."
I was able to find an example of another interpretationbased on the description by Theophilus. I made a stamping tool, more crudely than described, but ran into issues with roundness of the beaded segments,maintaining perfectly symmetrical faces at the fine-ness required, using only historical tools.
The other method I’ve found to manufacture beaded wire [learning the technologies of making beaded wire, experimental archaeology] is to make a rounded channel in the bottom of a rod or blade and roll the silver to generate individual beads. I created several of these tools and had excellent results—however, this method is labor intensive, time consuming and greatly weakens the material compared to what I would expect from the stamping motion described by Theophilus; the longest segment I was able to generate with this method as about 250mm long; more frequently 100mm segments with many 25-40mm segments that broke off, additionally, the thinner the wire used, the shorter the lengths I was able to produce were.
The other method I’ve found to manufacture beaded wire [learning the technologies of making beaded wire, experimental archaeology] is to make a rounded channel in the bottom of a rod or blade and roll the silver to generate individual beads. I created several of these tools and had excellent results—however, this method is labor intensive, time consuming and greatly weakens the material compared to what I would expect from the stamping motion described by Theophilus; the longest segment I was able to generate with this method as about 250mm long; more frequently 100mm segments with many 25-40mm segments that broke off, additionally, the thinner the wire used, the shorter the lengths I was able to produce were.
I will revisit the stamping tool at a later time—as I believe it will be necessary to produce some of the extremely fine (<.5mm diameter) beaded wire observed in some artifacts.
I scaled high resolution images of the brooches in Imagej and took measurements of features. One brooch is far better preserved and contains evidence of granulation filling the gaps between the wires, which other replicas tend to lack. The brooches feature extreme asymmetry: inconsistency in “S” filigree direction, sizing and pairing, small rings with ends that don’t meet, one of the brooches has a non-beaded twisted wire in a ring around one of the dimples, and very inconsistent sizing of the sheets which make the dimples.
I was unable to find any compositional analysis of the brooches (the nearest is a publication discussing coinage: Merkel, S., et.al. Isotopic analysis of silver from Hedeby and some nearby hoards. Viking Worlds. Things, spaces and movement, pp. 193-210.) and I see no evidence of solder on the brooches, which suggests low base-metal content which would prevent fusing, so I used commercially available fine silver. I shaped a wooden dome with dimensions a few millimeters under the size I measured the inside of the brooch to be. Silver was hammered and rolled out into sheets, and shaped over the wooden dome, annealing as needed.
The resulting shapes (ellipsoidal dome/cap?) were cut out with a jewelry saw (though chiseling would likely be the historical method used) and filed to shape. Wire was drawn out to size (rolling slightly lengthens the wire’s final dimensions and widens the beads), shaped to match the extant features, and fused in place in several steps: starting with the largest outer rings and dimples, rings around dimples and outer ring “S” filigree, all features on the faces and finally, granulation.
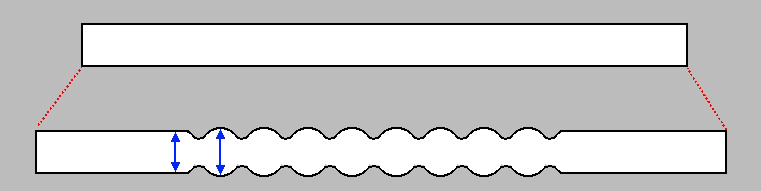
Figure 7. The wire I made lengthened ~10-15% and widened ~5-10%.
As the face is most interesting, very few pictures of the obverse sides exist. A low resolution image from Eilbracht shows that the internal clasp is almost entirely missing. Additionally, the wire on the faces is partly missing.
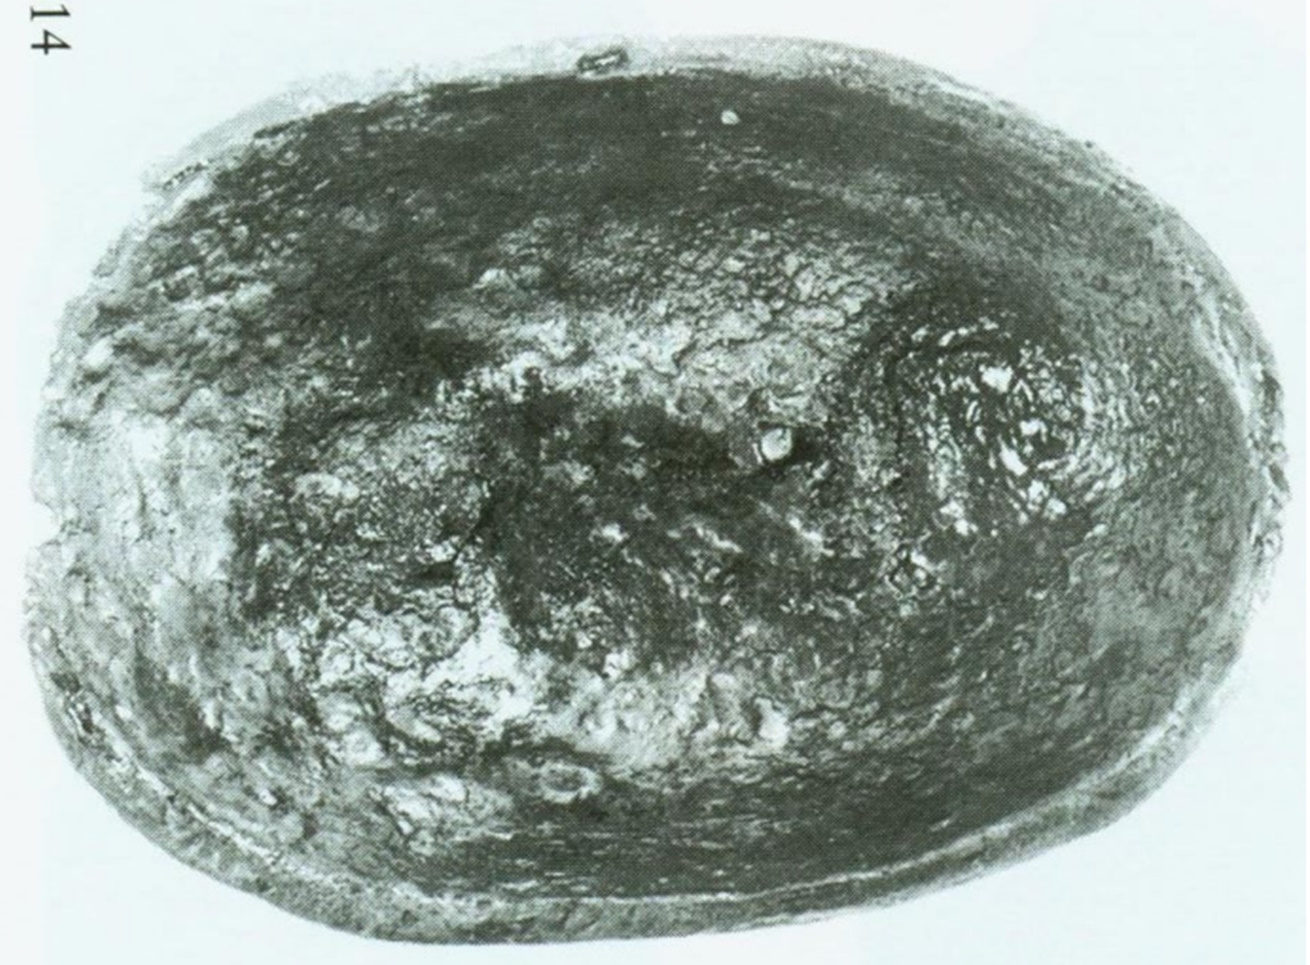
Figure 8. Brooch back, sans clasp. The outline of the hinge and hook mounting positions are visible.
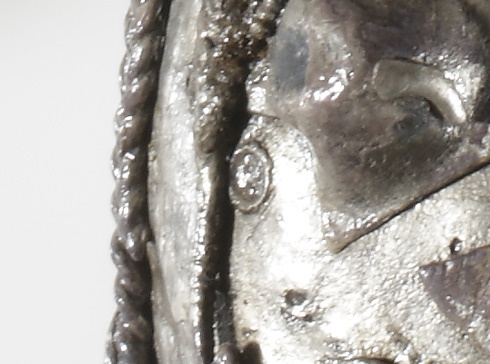
Figure 9. Notable spot where filigree is damaged, leaving a strong ring at the site.
I soldered the internal hooks for the closure, as I was concerned about damaging the small beadwork fusing the relatively thick hardware. The only alternative I can imagine is riveting/fastening in some way. These took approximately 2 weeks of evenings, and some long weekends to produce—I would love to make these again, but first I would like to produce the other metalwork goods from this grave, notably a matching pendant pair, as well as a small pendant containing an amber cabochon, all in gold. Due to financial constraints, these will be produced in silver, then plated gold.
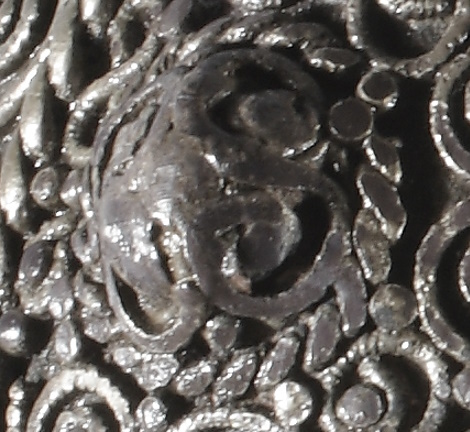
Figure 10.Interesting dimple; the other 12 with rings still attached have beaded wire, whereas this is thick and twisted wire without beading.
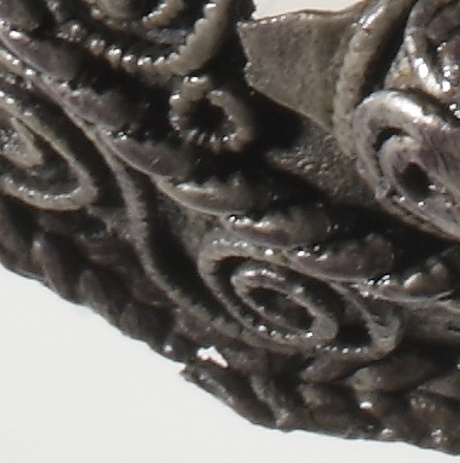
Figure 11. The best preserved area of the coarse twisted beaded wire—other areas are heavily worn.
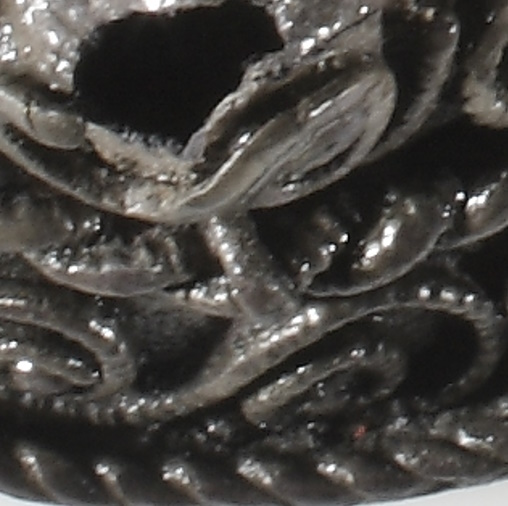
Figure 12. A small loop of wire possibly covering the seam where the whole loop joins?
Construction photos
Figure 13.Shaping the backing plate.
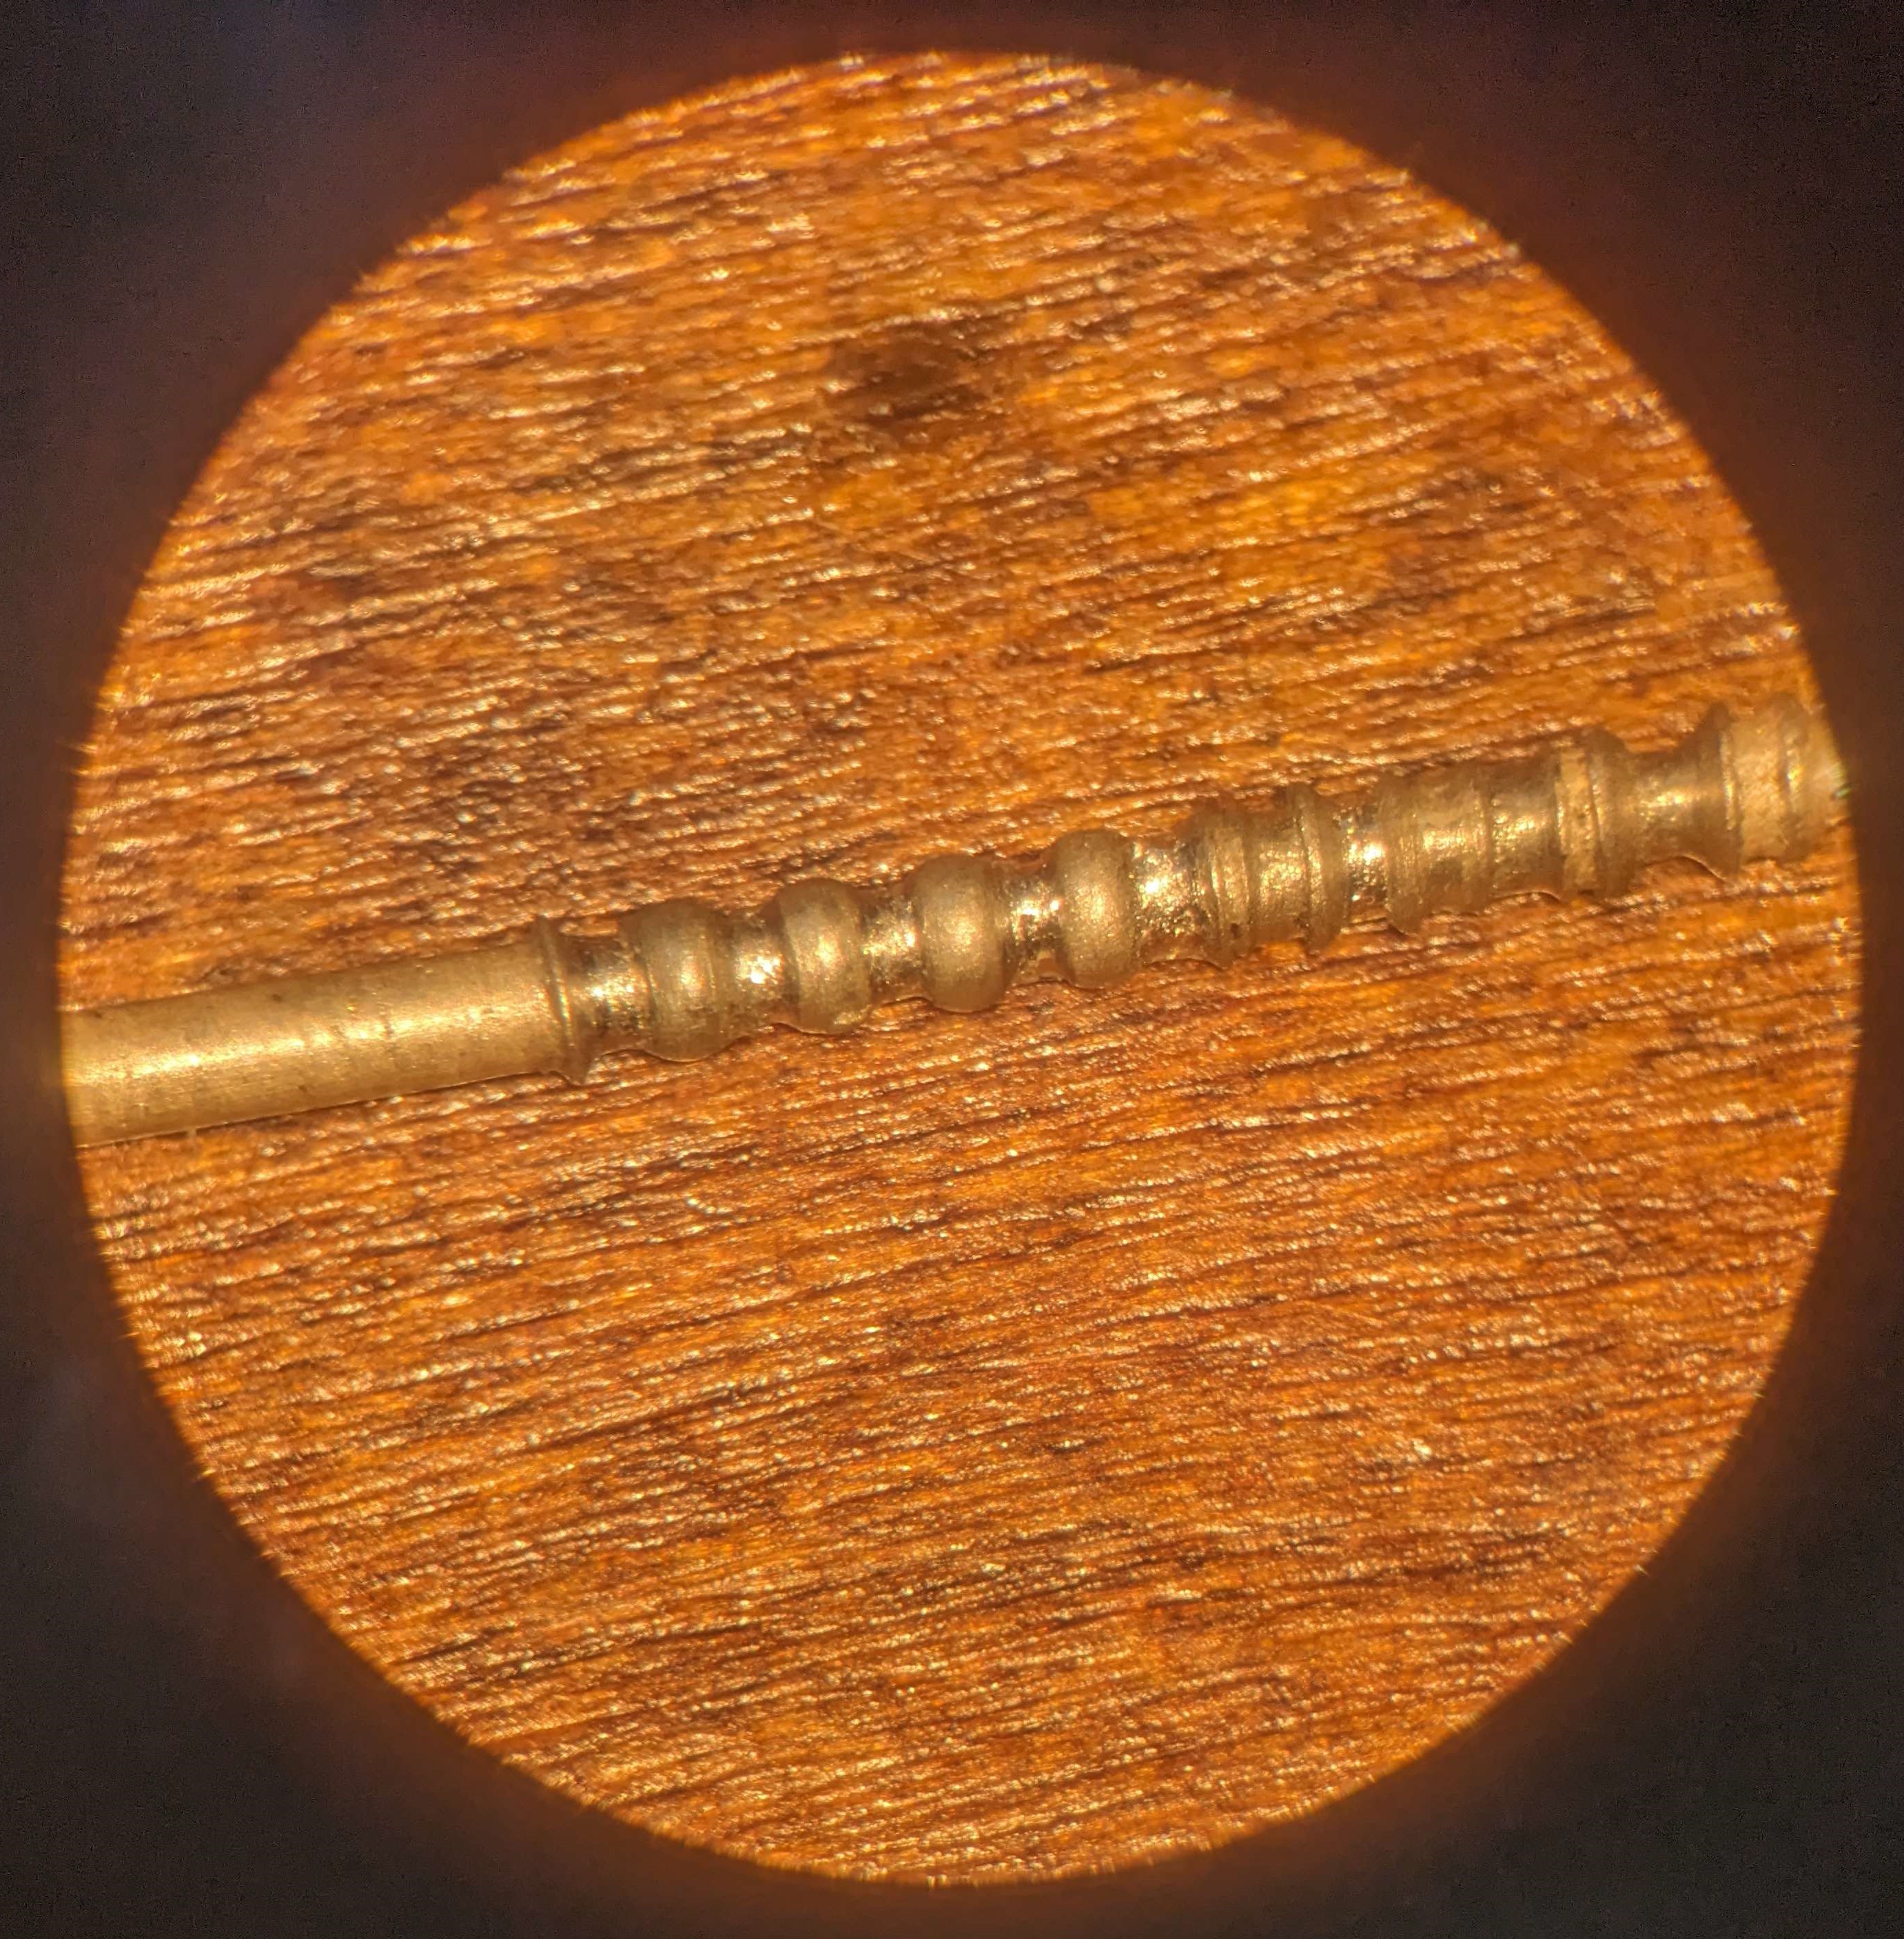
Figure 14. Developing technique to roll wire successfully.
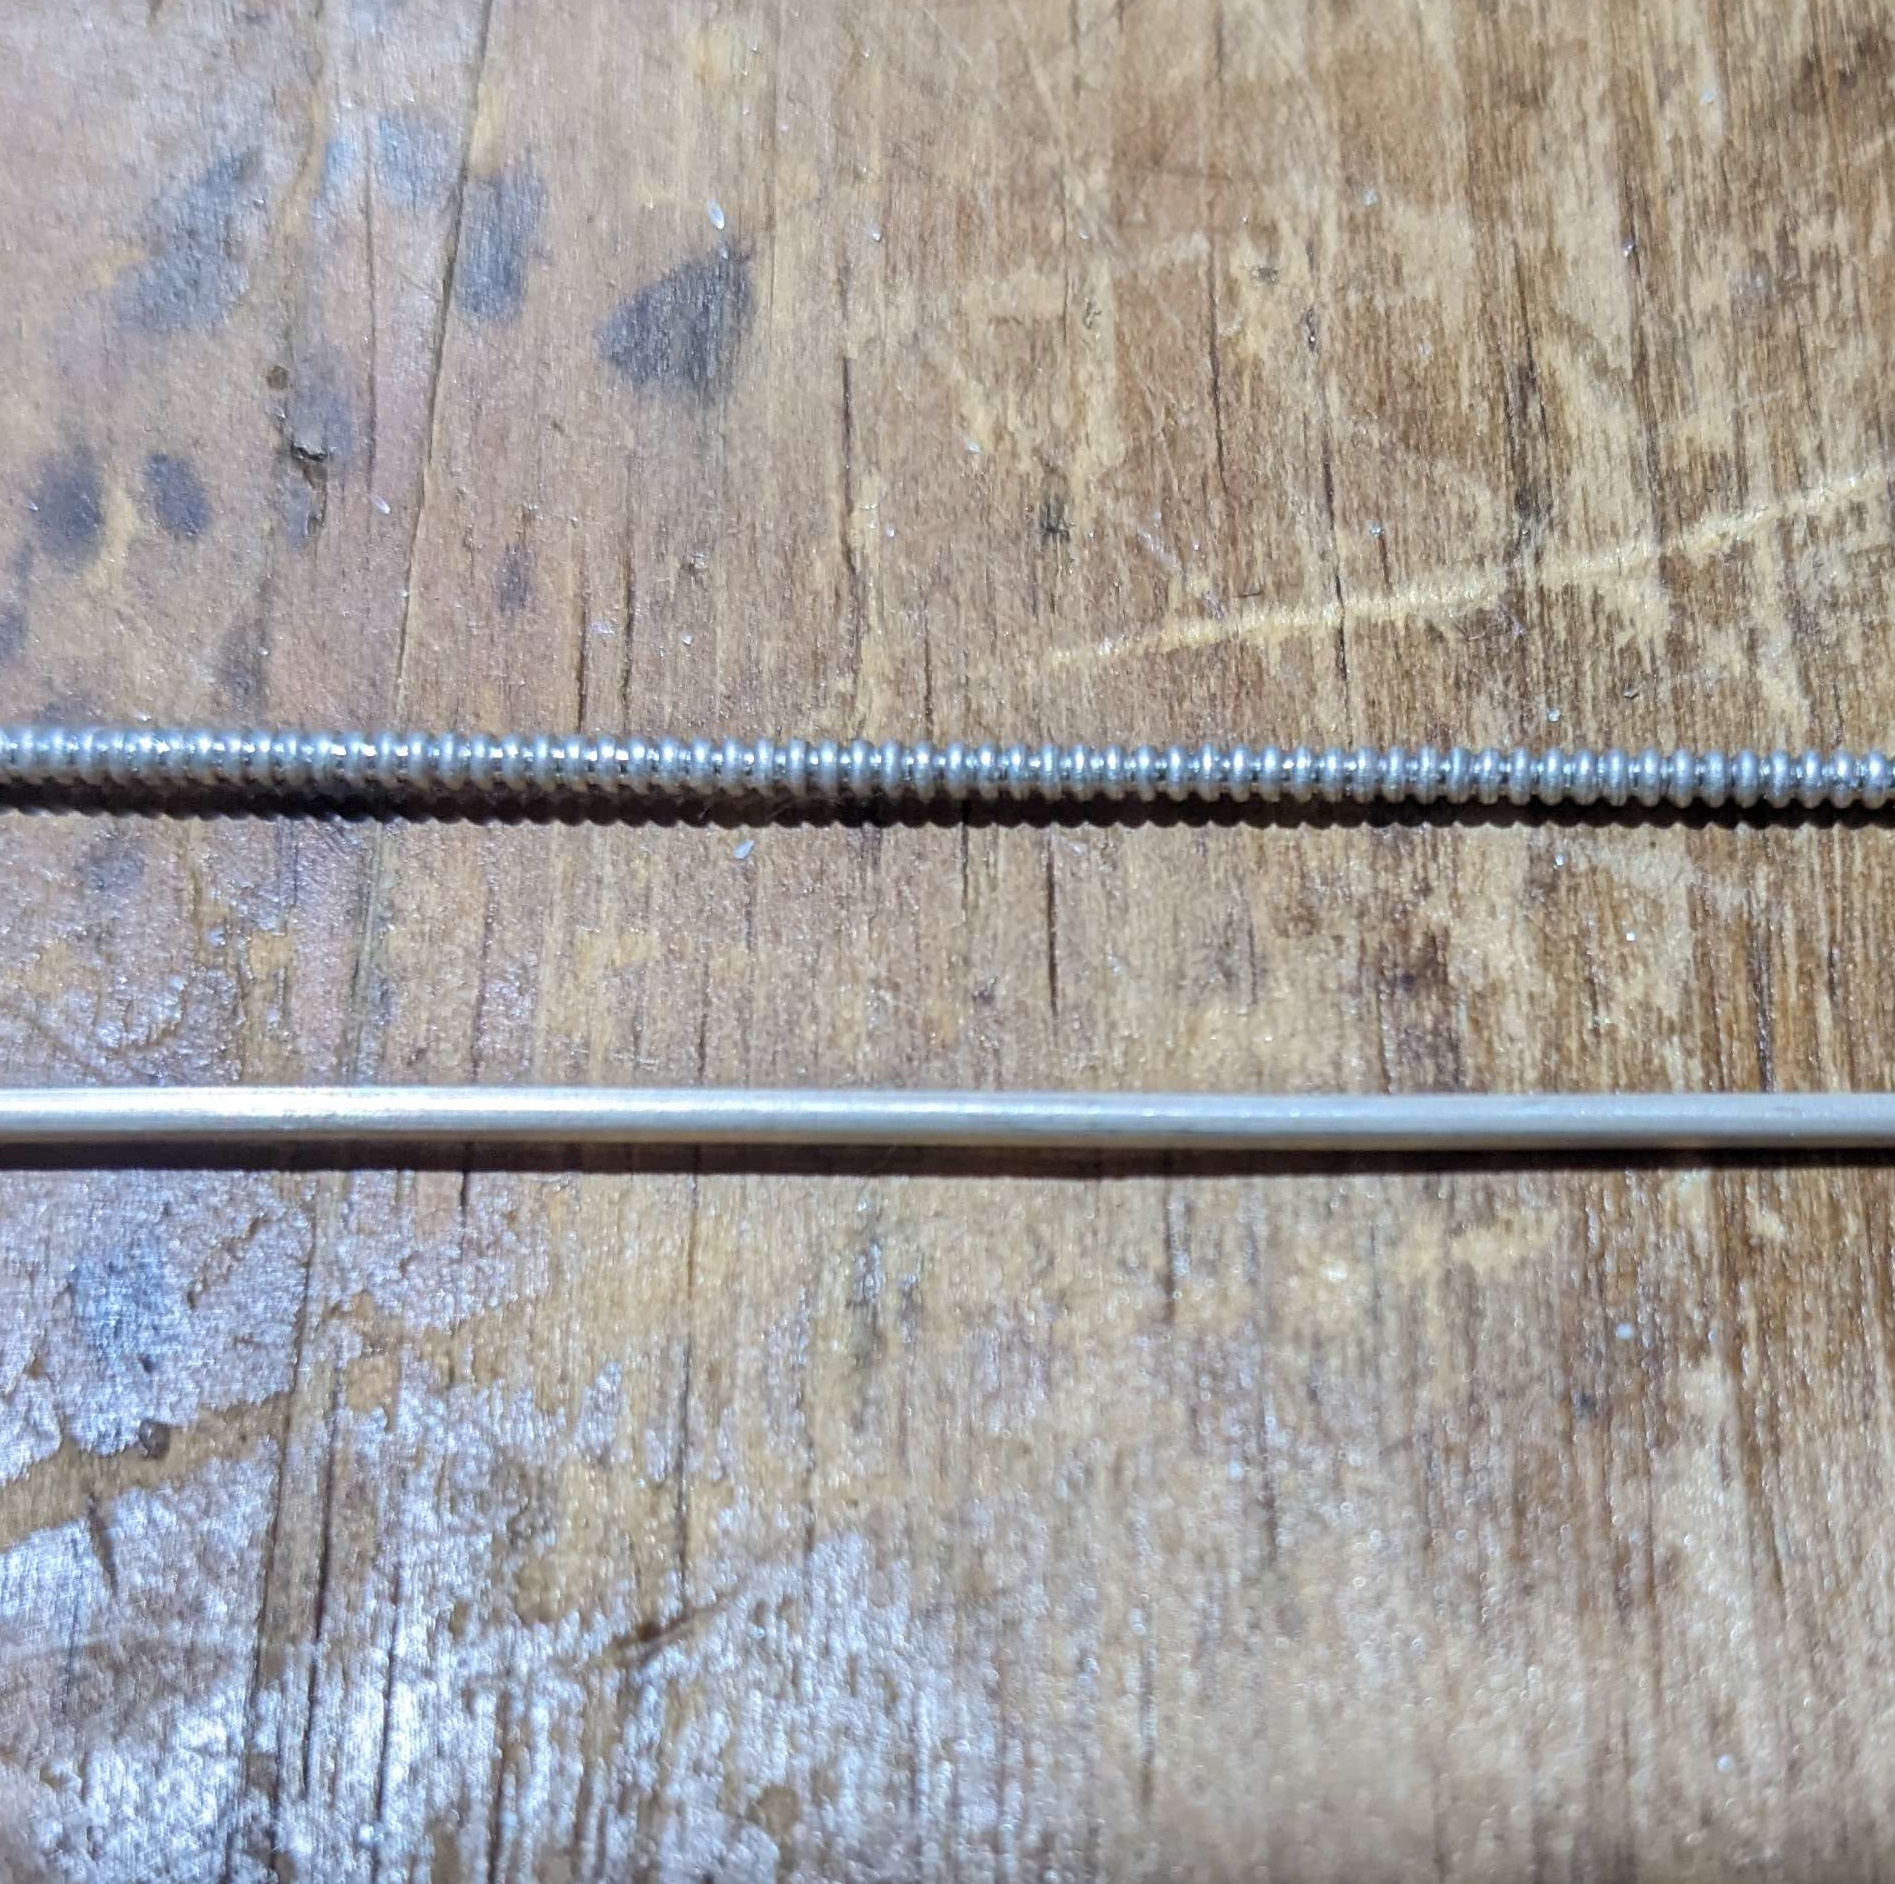
Figure 15. A small stretch of beaded wire.
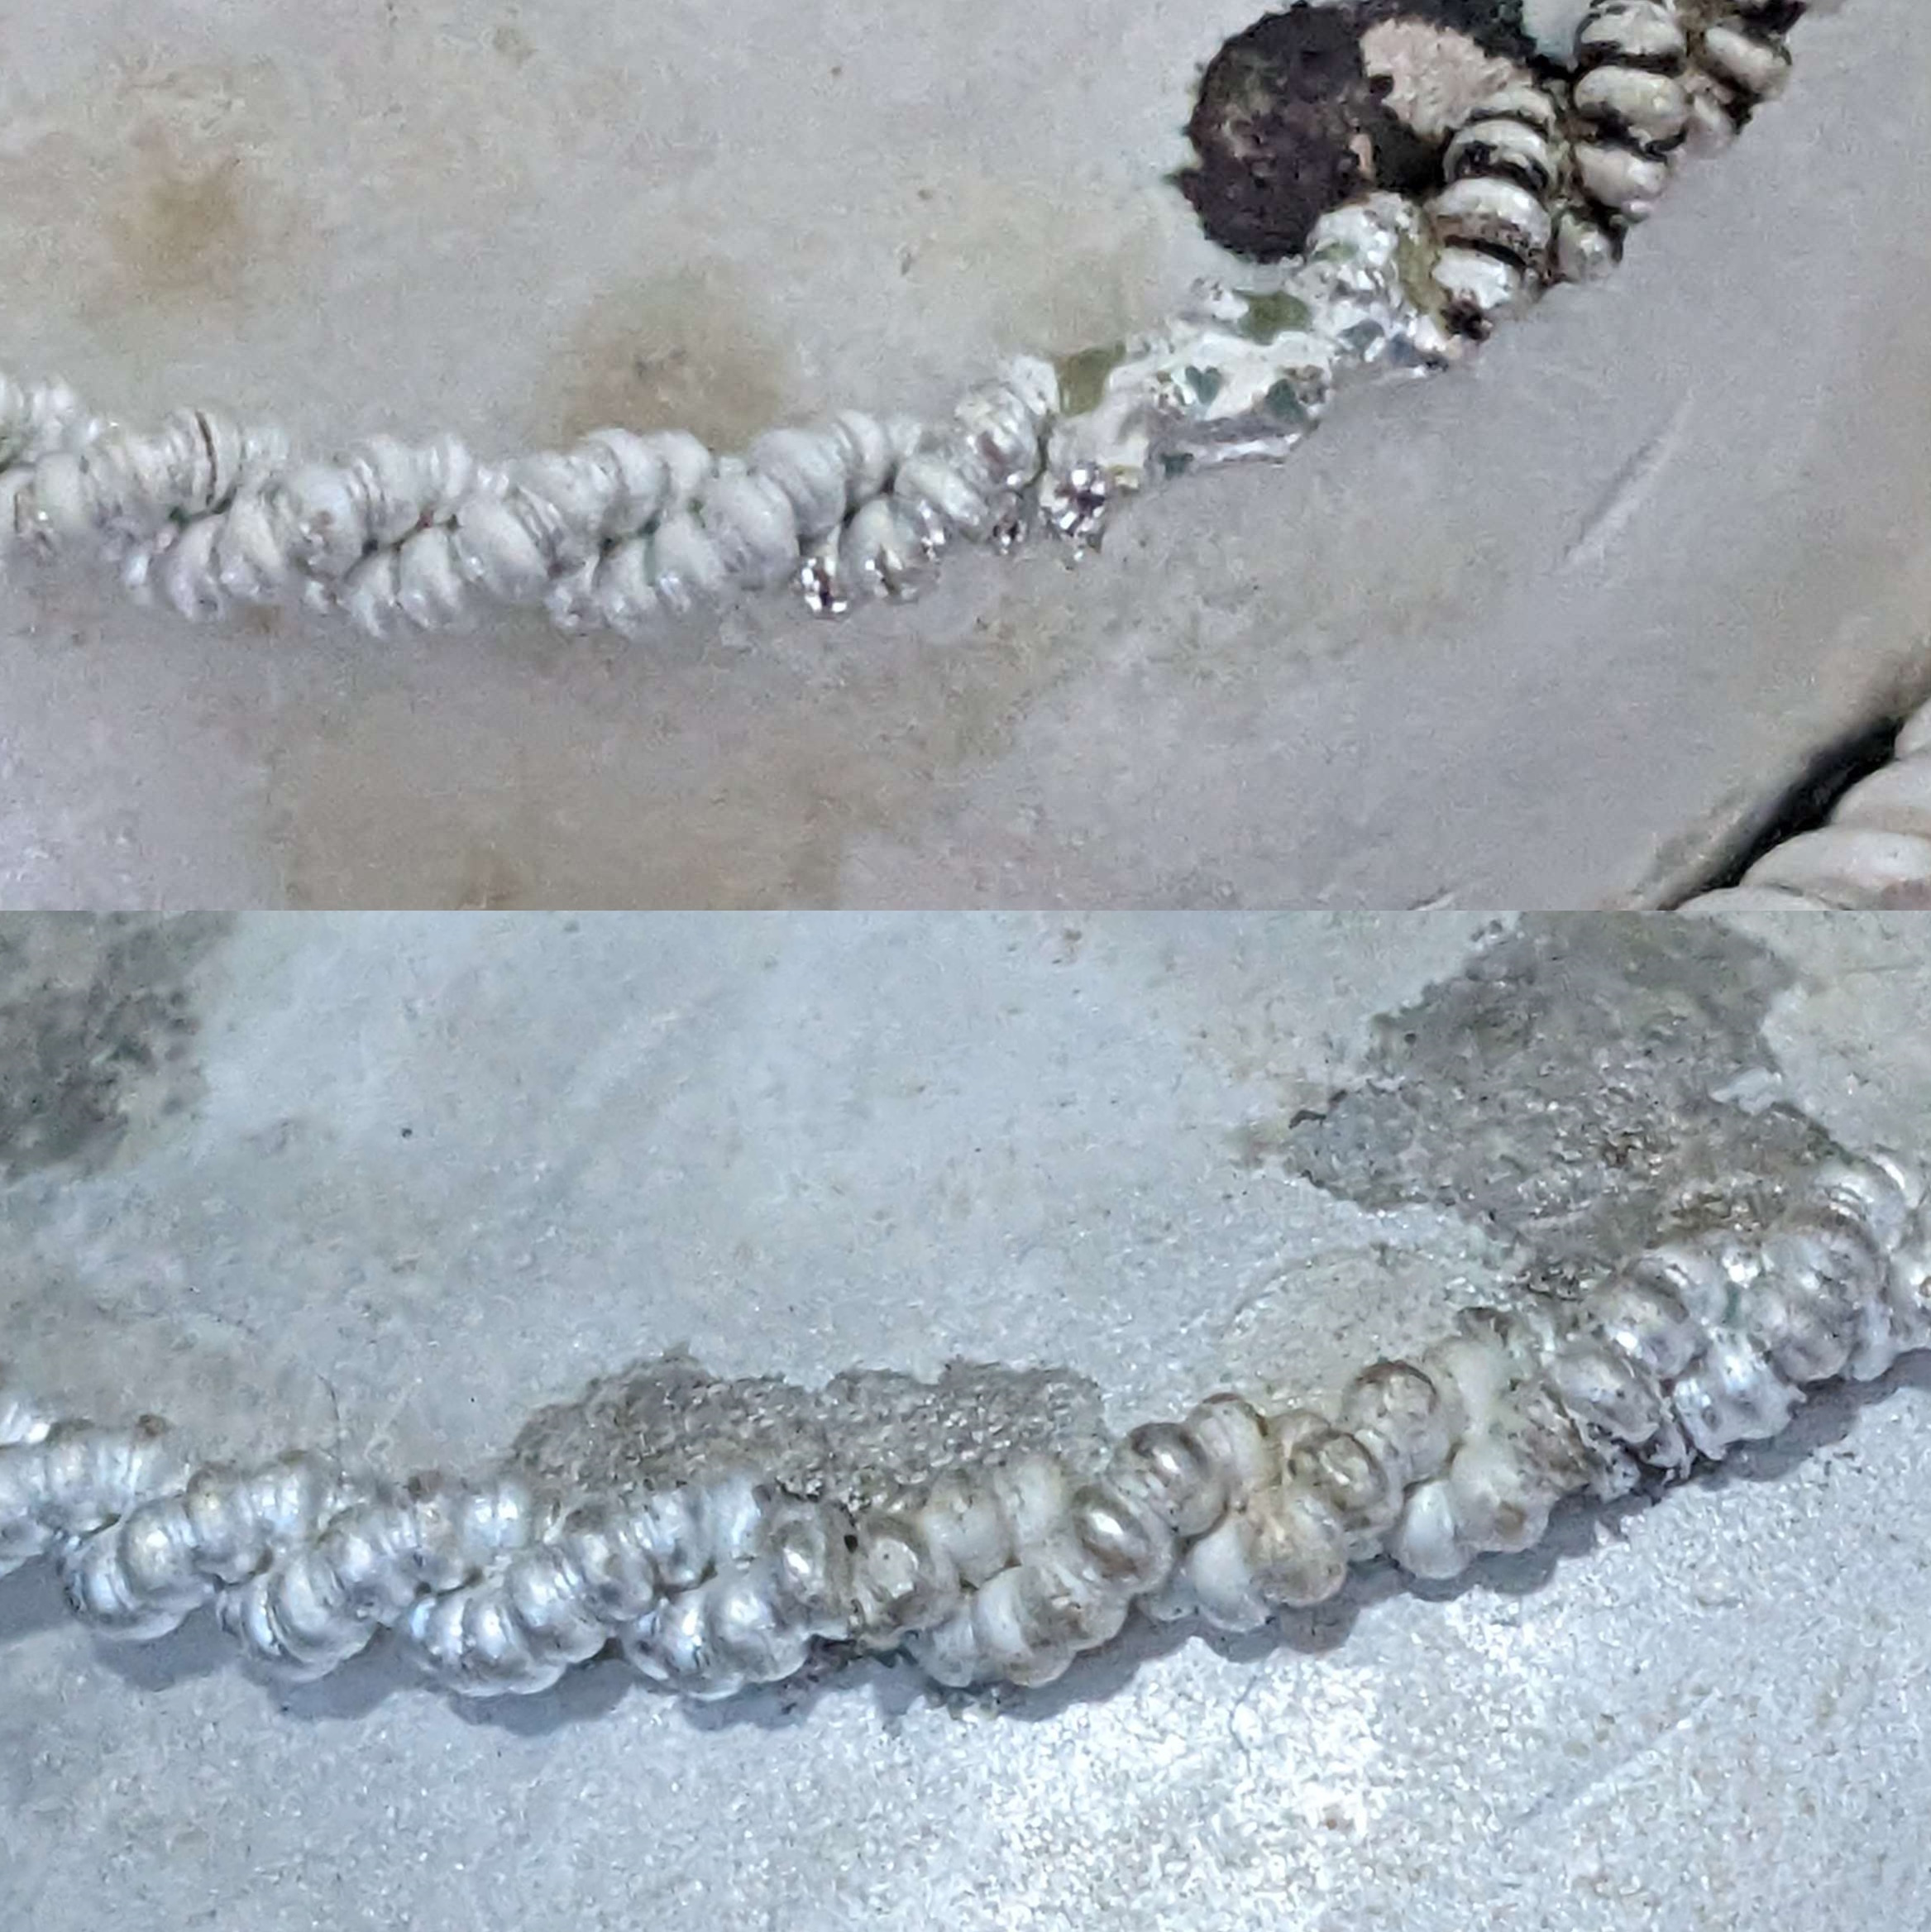
Figure 16. A failure during fusing—I used solder early on to tack together, which caused a proud area to melt. I was able to splice in a segment to make the error less visible.
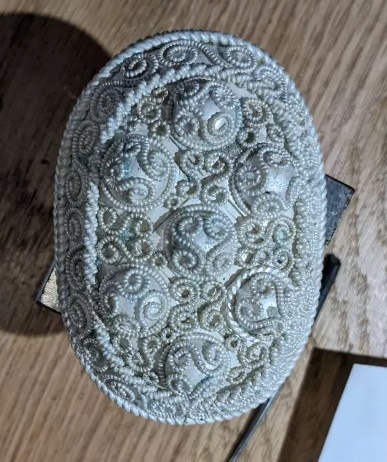
Figure 17.One of the brooches prior to granulation.
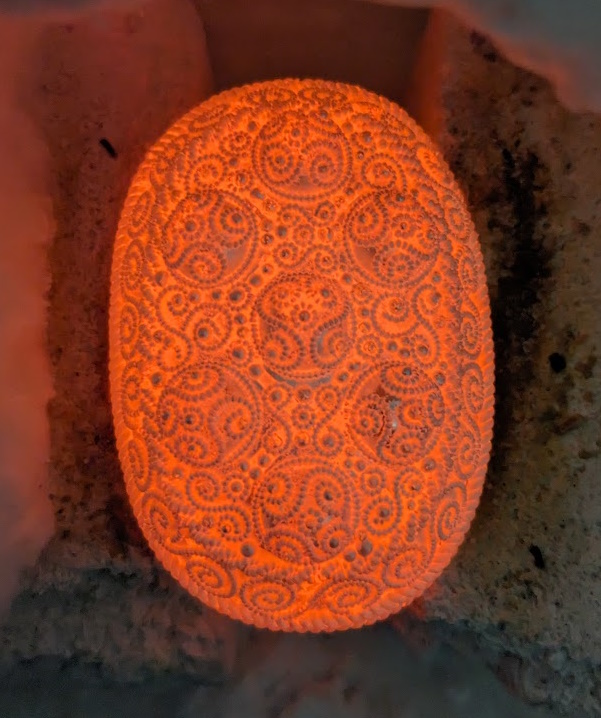
Figure 18. One of the brooches while fusing.
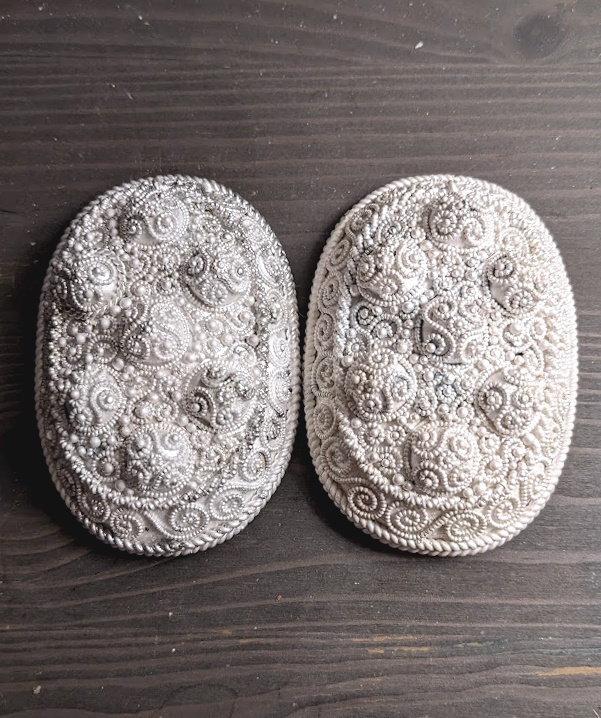
Figure 19. The final pair of brooches.